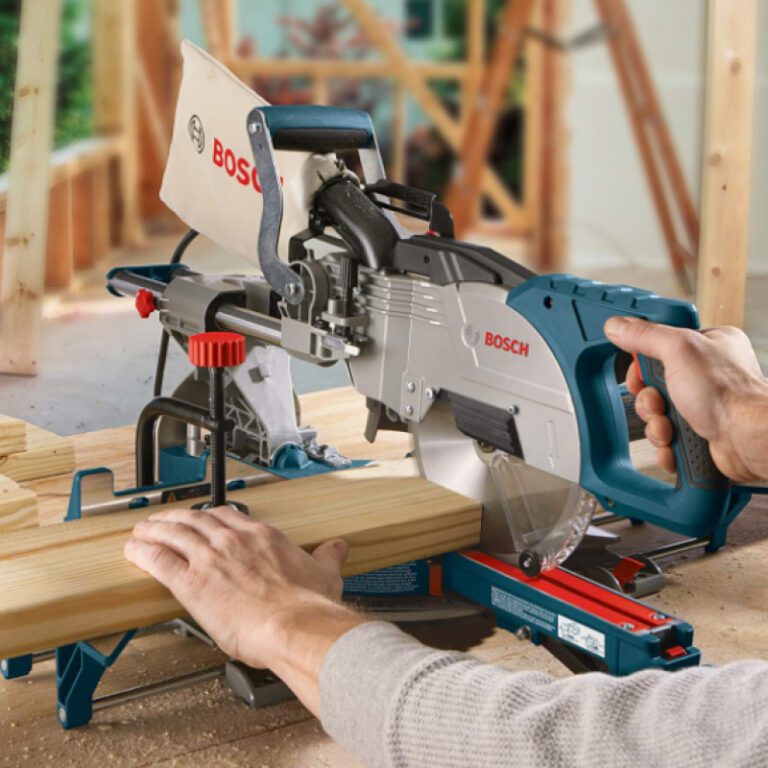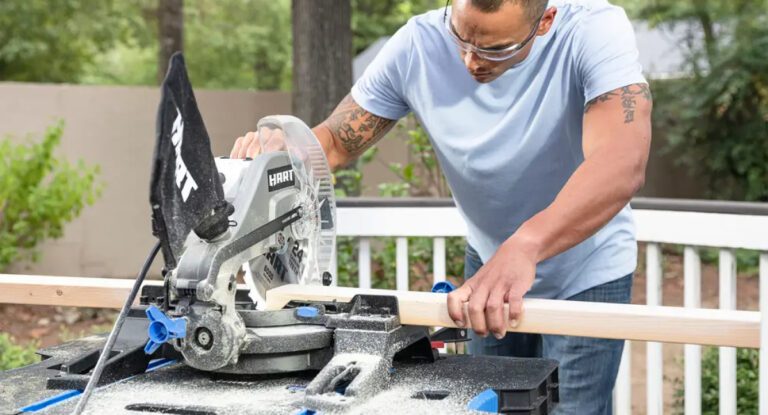
Safety is key, folks, especially when you’re diving into the world of woodworking and handling power tools like the miter saw. It’s not just about making clean cuts; it’s about keeping yourself out of harm’s way. Using a miter saw improperly can lead to some serious risks, from flying debris to unexpected kickbacks that can catch you off guard. Whether you’re just starting out or you’ve been at it for a while, Miter Saw Safety should always be your top priority. Before you start your project, take a moment to familiarize yourself with the safety guidelines. Trust me, it’s the cornerstone of every successful woodworking endeavor, and it ensures you’ll be around to tackle more projects down the road.
Understanding the Miter Saw
Overview of a Miter Saw Safety
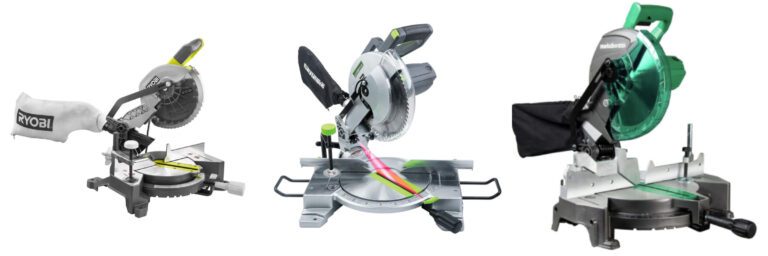
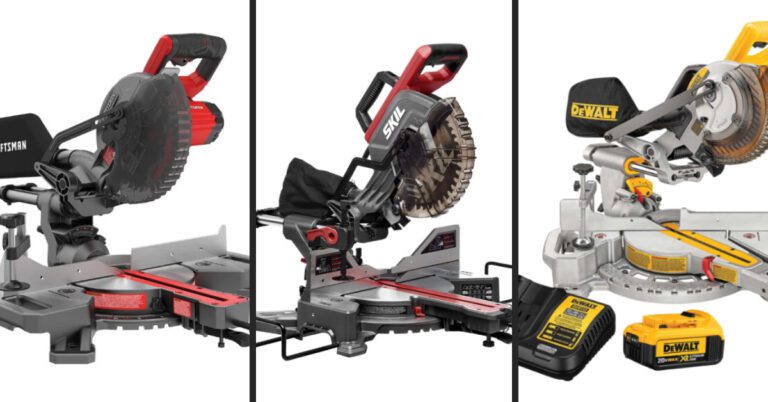
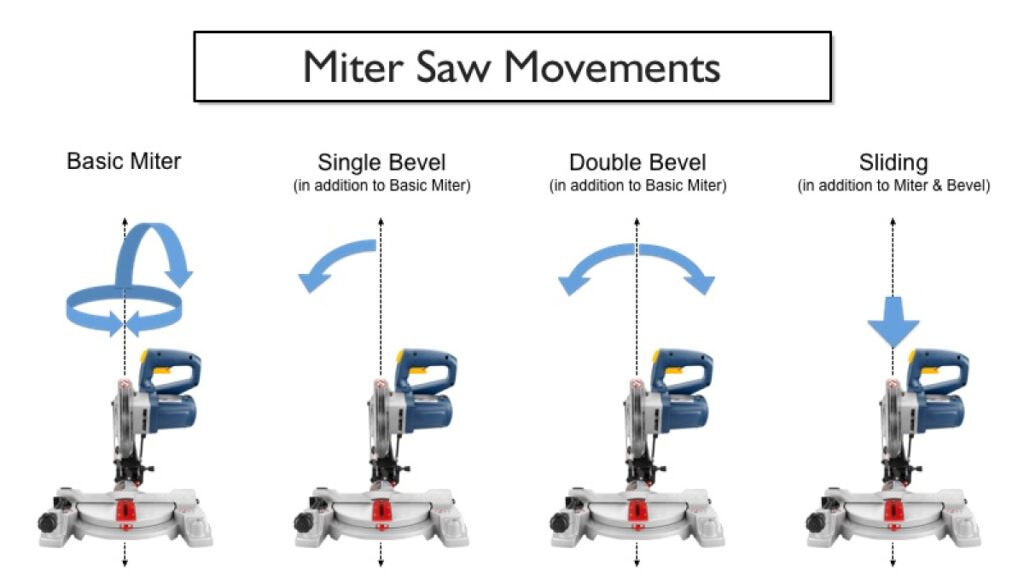
A miter saw, in a nutshell, is your go-to tool for making precise angled cuts in wood and other materials. Its main function is to cut miters (angled cuts) and bevels (angled edges) with accuracy and efficiency. Whether you’re crafting picture frames or molding for your home, the miter saw is your trusty sidekick for achieving those perfect angles every time.
Key Components of a Miter Saw
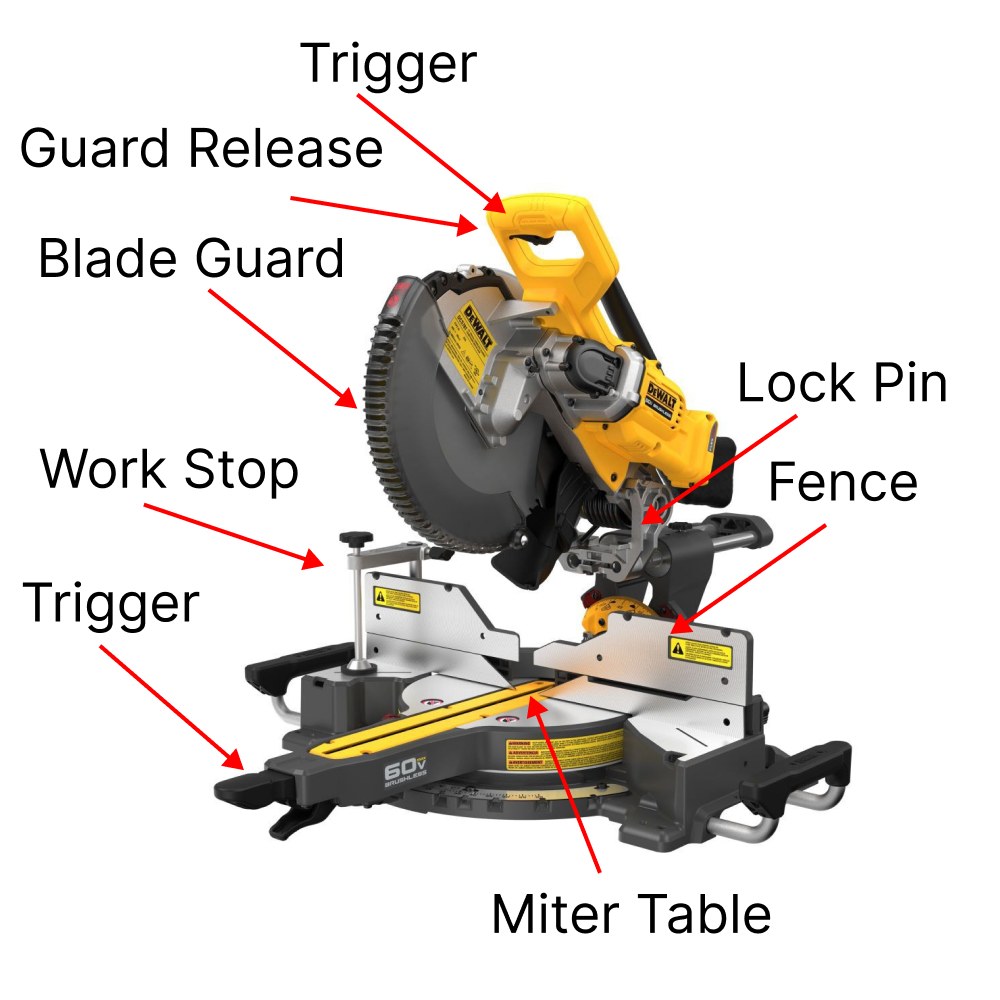
When you’re eyeballing a miter saw, you’ll notice a few essential parts that make it tick. First off, you’ve got the blade, the star of the show, which spins at high speeds to make those clean cuts. Then there’s the fence, a sturdy guide that helps keep your workpiece steady as you slice through it. The miter gauge allows you to adjust the angle of your cuts precisely, giving you ultimate control over your creations. And let’s not forget about safety features like blade guards and trigger locks, designed to keep your digits intact while you work your magic.
Differences from Other Saws
Now, you might be wondering how a miter saw stacks up against other saws in your arsenal. Unlike a circular saw, which is handheld and great for cutting straight lines, the miter saw is stationary and specializes in angled cuts with supreme accuracy. And while a table saw is fantastic for ripping through long boards, it’s not quite as nimble when it comes to those intricate miter cuts. Think of the miter saw as your precision instrument for all things angled and beveled—a true game-changer in your woodworking toolkit.
Preparing Your Workspace For Miter Saw Safety

Clean, Organized, and Well-Lit Workspace
Before you fire up that miter saw, take a good look around your workshop. A clutter-free and well-organized workspace isn’t just about aesthetics—it’s about safety and efficiency. Clear away any debris or unnecessary items that could trip you up or get in the way of your cuts. And don’t skimp on the lighting! Good visibility is key to making accurate cuts and avoiding accidents, so make sure your workspace is well-lit with adequate lighting.
Stable Work Surface and Proper Ventilation
Next up, let’s talk about your work surface and workshop environment. Your miter saw needs a stable foundation to operate safely and effectively, so make sure your workbench or table is sturdy and level. And don’t forget about ventilation! Woodworking can kick up a lot of dust and fumes, so crack open those windows or invest in a good ventilation system to keep the air clear and breathable while you work.
Appropriate Personal Protective Equipment (PPE)
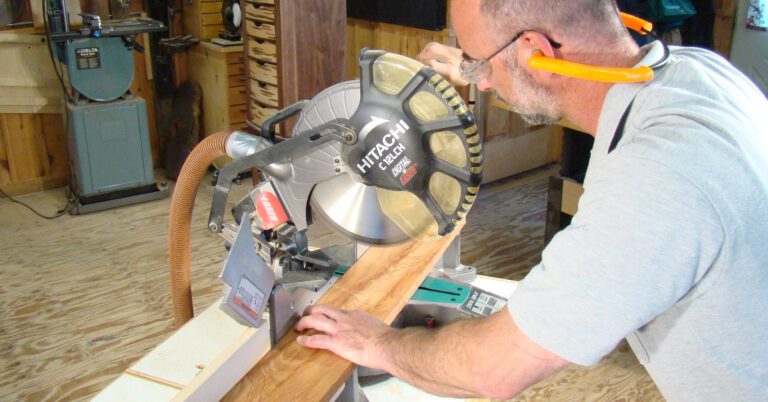
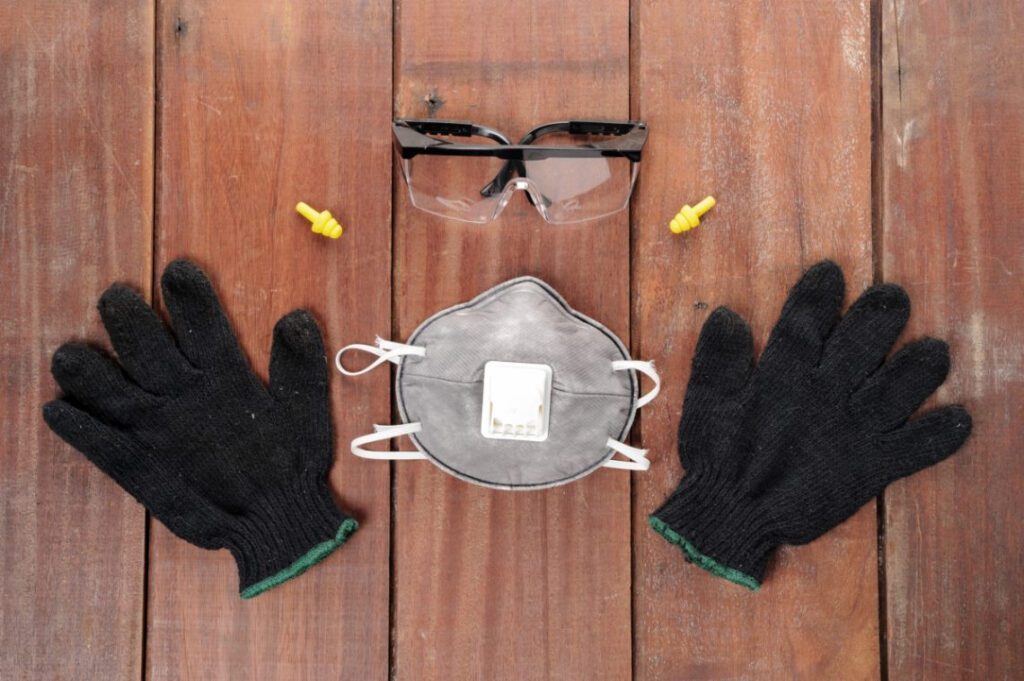
Last but certainly not least, let’s talk PPE. When you’re working with power tools like a miter saw, protecting yourself should be top priority. That means gearing up with safety glasses to shield your peepers from flying debris, ear protection to muffle the roar of the saw, and dust masks to filter out harmful particles. It might not be the most stylish getup, but trust me, it’s a whole lot better than ending up in the ER with a splinter in your eye or sawdust in your lungs.
Miter Saw Safety Features
Highlighting Safety Features
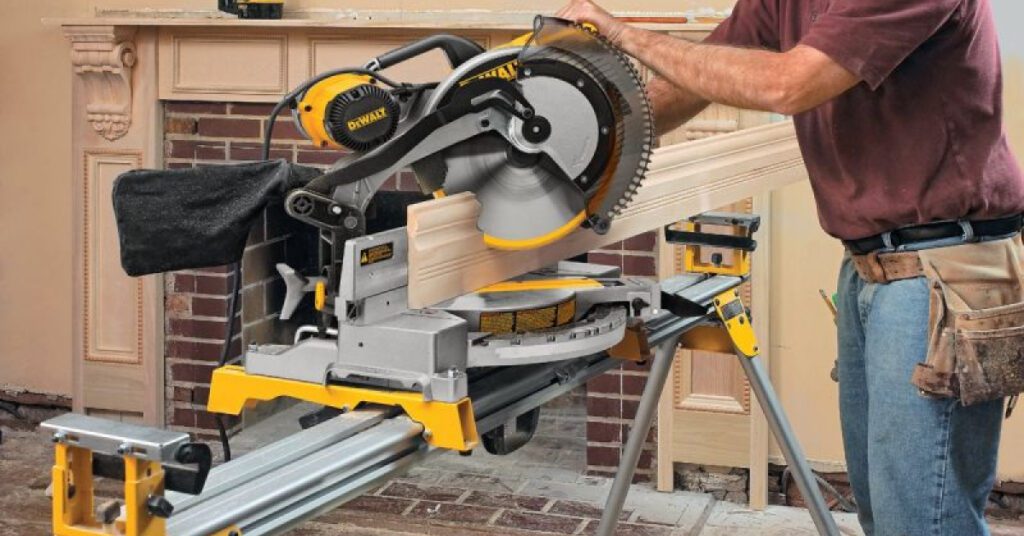
Your miter saw comes equipped with a host of safety features designed to keep you out of harm’s way. From blade guards that shield your hands from the spinning blade to blade brakes that stop the blade in its tracks milliseconds after you release the trigger, these features are your first line of defense against accidents in the workshop. Additionally, most miter saws are outfitted with Miter Saw Safety switches that require deliberate activation to prevent accidental starts.
Function and Importance
Each safety feature plays a crucial role in preventing injuries and mishaps while you work. The blade guard, for instance, covers the blade during operation, reducing the risk of accidental contact with sharp teeth. Blade brakes swiftly bring the spinning blade to a halt when you release the trigger, minimizing the chance of follow-through cuts or unintended movements. Safety switches act as a fail-safe mechanism, ensuring that the saw only starts when you intend it to. Proper usage of these features can mean the difference between a successful project and a trip to the emergency room.
Familiarizing Yourself with Safety Features
Before you dive headfirst into your woodworking project, take a moment to get acquainted with the safety features of your miter saw. Read the user manual thoroughly and familiarize yourself with the location and operation of each safety component. Practice engaging and disengaging the safety features until it becomes second nature. Remember, a few minutes spent familiarizing yourself with these features could save you from a world of hurt down the line.
Safe Operating Procedures
Step-by-Step Operating Instructions
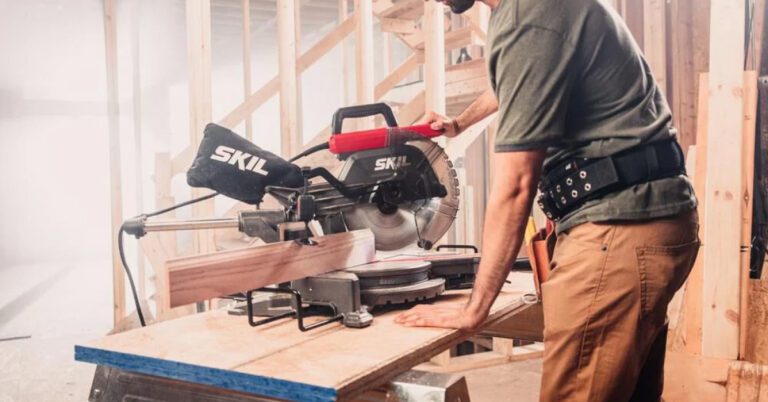
Safety first, gents, so let’s walk through the proper steps for operating your miter saw. Begin by adjusting the blade angle and bevel to your desired settings, ensuring that the saw is unplugged before making any adjustments. Once set, securely clamp down your workpiece to the saw’s fence and table to prevent any unwanted movement during cutting. Now, with a firm grip on the handle and your safety gear on, carefully squeeze the trigger and bring the blade down onto your material with a smooth and steady motion. Remember to let the blade come to a complete stop before raising it back up.
Hand and Finger Safety
Now, here’s a golden rule to live by: keep those hands and fingers clear of the blade at all times. It may seem like common sense, but it’s easy to get caught up in the moment and forget where your digits are. Use clamps or hold-downs to secure your workpiece firmly in place, keeping your hands a safe distance from the spinning blade. And if you need to adjust the material mid-cut, never do it while the blade is in motion—always wait for the blade to come to a complete stop before making any adjustments.
Proper Material Feeding Technique
Feeding material into the miter saw requires finesse and control to ensure accurate cuts and minimize the risk of kickback. Start by positioning the material firmly against the fence and hold it securely with your non-dominant hand. Use your dominant hand to operate the saw, guiding the material smoothly and steadily through the cut. Avoid rushing the process or forcing the material through the blade, as this can lead to binding and kickback. Keep a steady pace and maintain control over the material until the cut is complete. With practice and patience, you’ll master the art of feeding material into your miter saw like a seasoned pro.
Common Miter Saw Safety Mistakes to Avoid
Identifying Common Mistakes
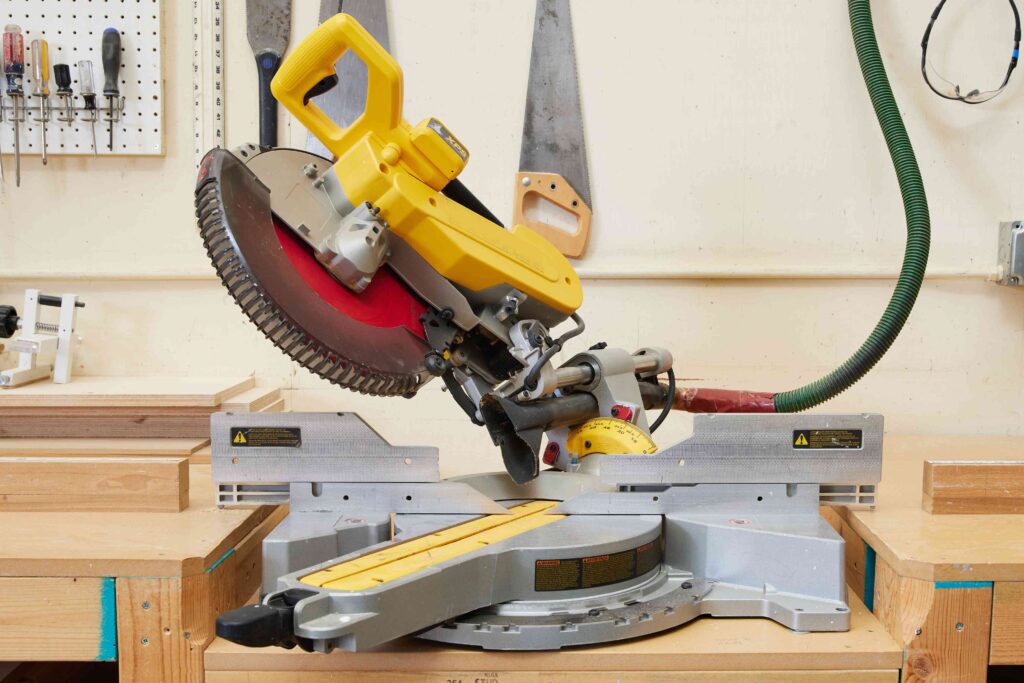
It’s easy to get caught up in the excitement of using a miter saw for the first time, but beware of these common Miter Saw Safety mistakes that can trip up beginners. One frequent blunder is neglecting to wear proper personal protective equipment (PPE) like safety glasses and ear protection. Another is failing to secure the workpiece adequately, leading to unexpected movement or kickback during cutting. Additionally, improper blade adjustment or attempting cuts beyond the saw’s capacity can spell trouble for both you and your project.
Practical Tips for Safety
Keep these practical tips in mind to avoid accidents and injuries while working with your miter saw. Always double-check that your work area is clear of clutter and obstructions before making a cut. Take the time to properly adjust the blade angle and bevel settings to match your project requirements, and never force the material through the saw blade. Remember to maintain a firm grip on the handle and keep your hands and fingers away from the blade at all times. And most importantly, if something doesn’t feel right or if you’re unsure about a particular cut, trust your instincts and take a step back to reassess before proceeding.
Proactive Safety Measures
Safety isn’t a one-and-done deal—it’s an ongoing commitment that requires diligence and proactive effort. Make it a habit to perform regular maintenance checks on your miter saw, including inspecting the blade for signs of wear and ensuring that all safety features are functioning properly. Consider investing in additional safety accessories like featherboards or push sticks to enhance control and precision during cutting. And don’t underestimate the power of ongoing training and education—whether it’s through online resources, workshops, or mentorship, there’s always something new to learn when it comes to keeping yourself safe in the workshop. By staying proactive and vigilant, you’ll not only protect yourself from harm but also enjoy a more fulfilling and rewarding woodworking experience.
This Concludes Our Instructions on Miter Saw Safety
Prioritizing Safety with Your Miter Saw
Throughout this article, we’ve stressed the paramount importance of safety when it comes to using a miter saw. From understanding its key components to practicing Miter Saw Safety operating procedures, every step you take in the workshop should be guided by a commitment to keeping yourself out of harm’s way. Remember, no project is worth risking life or limb, so always prioritize safety above all else.
Applying Safety Tips to Your Projects
As you embark on your woodworking journey, I urge you to take the Miter Saw Safety tips and guidelines discussed in this article to heart. Whether you’re a beginner just starting out or a seasoned pro looking to brush up on your skills, these safety measures are non-negotiables. From preparing your workspace to operating your miter saw with care and precision, each step you take towards Miter Saw Safety brings you one step closer to a successful and injury-free woodworking experience.
Embracing Ongoing Education and Practice
Finally, remember that safety is a journey, not a destination. As you continue to hone your Miter Saw Safety and woodworking skills, make a commitment to ongoing education and practice. Seek out new techniques, attend workshops or classes, and never stop learning. By continually refining your skills and staying up-to-date on safety best practices, you’ll not only become a more proficient woodworker but also ensure that you and those around you can enjoy the craft for years to come. So, here’s to safe, rewarding, and fulfilling woodworking adventures ahead!

