In the realm of woodworking, the mastery of miter cuts stands as a hallmark of precision and craftsmanship. For men dedicated to honing their skills in carpentry, understanding the importance of flawless miter cuts is paramount. These cuts, known for their clean and seamless angles, elevate the quality and aesthetics of woodworking projects to a new level. However, even seasoned craftsmen encounter challenges in achieving the perfect miter cut.
Factors such as inconsistent blade alignment, inaccurate measurements, and improper technique can thwart even the most meticulous efforts. In this comprehensive guide, we delve into the intricacies of miter cuts, offering practical insights and strategies to overcome common obstacles. From optimizing your miter saw setup to mastering essential techniques, this article equips you with the knowledge and expertise needed to elevate your woodworking prowess. Join us as we navigate the art of how to Get the Perfect Miter Cuts, empowering you to unlock new dimensions of precision and finesse in your woodworking endeavors.
Understanding Miter Cuts
Miter cuts, fundamental to woodworking, are angled cuts made across the width of a workpiece, typically at 45 degrees. The primary purpose of miter cuts is to join two pieces of wood at an angle, forming corners and edges with clean and seamless transitions. These cuts are essential for various woodworking projects, including furniture construction, trim work, picture frames, and molding installations. By creating precise angles, miter cuts ensure tight joints and enhance the overall aesthetics and structural integrity of the finished piece.
Types of Miter Cuts
- Basic Miter Cuts Basic miter cuts involve angling the blade of the miter saw to make straight cuts across the width of the workpiece at a specified angle, typically 45 degrees. These cuts are commonly used for creating square or rectangular frames, boxes, and other simple woodworking structures. Basic miter cuts are essential building blocks for more complex joinery techniques and serve as the foundation for mastering the art of how to Get the Perfect Miter Cuts.
- Compound Miter Cuts Compound miter cuts add complexity by incorporating both angle and bevel adjustments into the cutting process. These cuts are necessary for joining pieces of wood that meet at non-90-degree angles, such as crown molding, picture frames with sloped edges, and architectural elements with intricate angles. Compound miter cuts require precise adjustment of both the miter and bevel angles to ensure a seamless fit and proper alignment of the joined pieces.
- Beveled Miter Cuts Beveled miter cuts involve tilting the blade of the miter saw to create angled edges along the thickness of the workpiece in addition to the angled cuts across the width. This type of cut is commonly used for creating decorative edges, chamfers, and angled surfaces on woodworking projects. Beveled miter cuts add visual interest and dimension to furniture, cabinetry, and architectural details, making them versatile and indispensable in woodworking craftsmanship.
Applications of Miter Cuts in Woodworking Projects
Miter cuts find extensive applications across a wide range of woodworking projects, contributing to both functional and aesthetic aspects of the finished piece. From constructing seamless corners and joints in furniture and cabinetry to adding decorative trim and molding to architectural elements, miter cuts play a vital role in enhancing the overall quality and appearance of woodworking projects. Whether creating clean and precise angles for structural integrity or adding visual interest with beveled edges and intricate joinery, mastering the art of miter cuts opens up a world of possibilities for craftsmen seeking to elevate their woodworking skills and craftsmanship.
Essential Tools for Miter Cuts
Types of Miter Saws
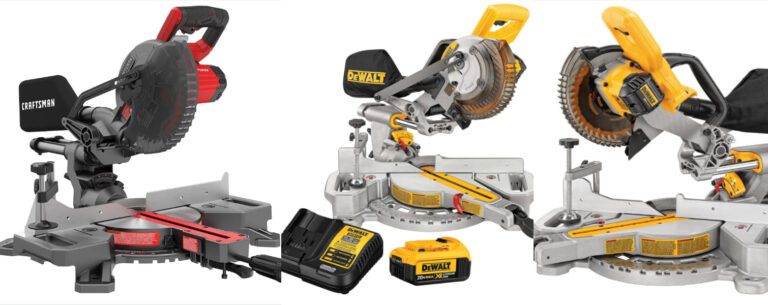
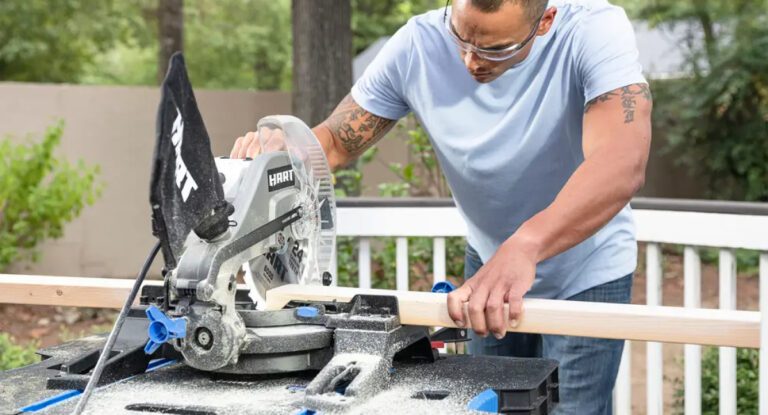
Miter saws come in various types, each suited to different woodworking needs. Standard miter saws offer basic angled cuts, while compound miter saws add bevel capabilities for more complex cuts. Sliding compound miter saws extend cutting capacity for wider boards. Dual-bevel miter saws allow bevel cuts in both directions without flipping the workpiece. Choose the type of miter saw based on the scale and complexity of your projects.
Features to Consider When Choosing a Miter Saw
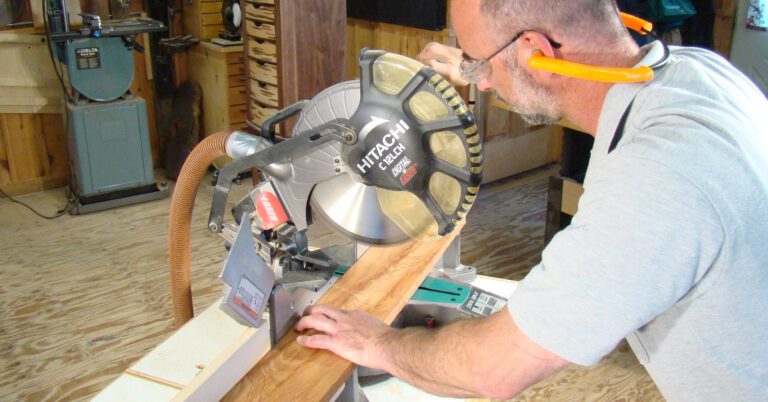
When selecting a miter saw, consider essential features that enhance functionality and accuracy. Look for miter saws with adjustable miter and bevel angles for versatile cutting options. Laser guides provide precise alignment, while dust collection systems keep your workspace clean. Consider the size and portability of the miter saw to suit your workshop space and mobility needs.
Miter Box and Back Saw
For those who prefer manual tools or have limited space and budget, a miter box and back saw offer a traditional yet effective method for making miter cuts. The miter box acts as a guide for the saw, ensuring straight and accurate cuts at predefined angles. Paired with a sharp and fine-toothed back saw, this setup allows for precise miter cuts in smaller-scale woodworking projects.
Table Saw with Miter Gauge
A table saw equipped with a miter gauge serves as a versatile alternative for making miter cuts, especially for larger workpieces and straight cuts. The miter gauge allows for precise adjustment of angles, ensuring accuracy and repeatability in miter cuts across various materials and thicknesses. With proper setup and calibration, a table saw with a miter gauge can be a valuable addition to your woodworking toolkit.
Handheld Miter Saw
Handheld miter saws, also known as chop saws, offer portability and convenience for on-site or smaller-scale woodworking tasks. These compact saws feature a pivoting arm that allows for angled cuts, making them suitable for trim work, molding installation, and other finishing tasks. While handheld miter saws may lack the precision and cutting capacity of larger stationary models, they excel in versatility and maneuverability, making them ideal for a range of applications in Getting the Perfect Miter Cuts in your woodworking projects.
Preparation for Perfect Miter Cuts
Selection of Wood and Quality Assessment
Before making miter cuts, it’s crucial to carefully select high-quality wood that suits your project requirements. Look for straight, well-seasoned boards free from knots, cracks, or other defects that may compromise the integrity trying to Get the Perfect Miter Cuts. Assess the grain pattern and orientation to ensure optimal stability and aesthetics in the finished piece. Proper wood selection lays the foundation for achieving flawless miter cuts with clean edges and minimal tear-out.
Measurement and Marking Techniques
Accurate measurements and precise marking are essential prerequisites for achieving perfect miter cuts. Use a combination square or a reliable measuring tape to measure and mark the desired angles and dimensions on the workpiece. Double-check measurements and angles to avoid errors before making any cuts. Consider using marking aids such as pencil lines, marking knives, or layout squares to ensure clear and precise markings that guide the cutting process with confidence and accuracy.
Importance of Proper Blade Selection
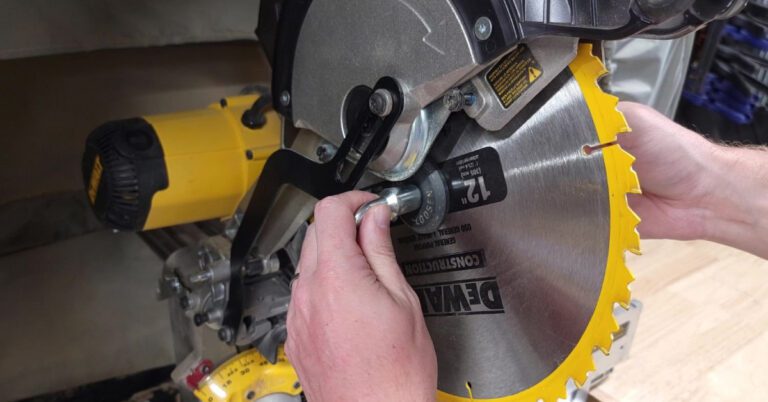
Selecting the right blade for your miter saw is crucial for achieving clean and accurate cuts across different types of wood and materials. Choose a high-quality carbide-tipped blade with the appropriate number of teeth and tooth configuration for the specific type of cut and wood species you’re working with. Fine-tooth blades produce smoother cuts with minimal tear-out, while coarse-tooth blades excel in rapid material removal for rough cuts. Consider factors such as blade diameter, kerf width, and tooth geometry to optimize cutting performance and minimize splintering and chipping.
Securing the Workpiece and Safety Measures
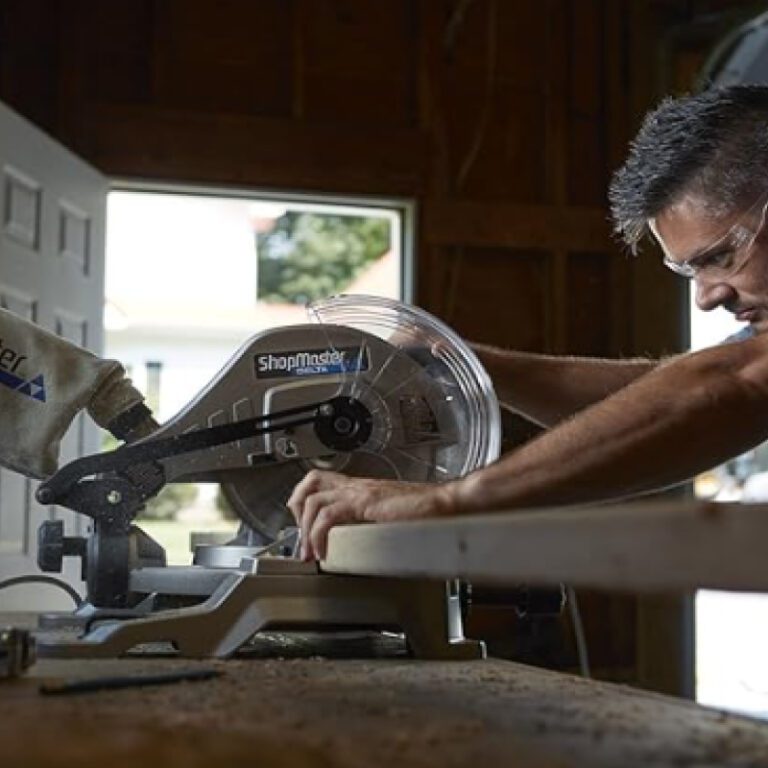
Before making miter cuts, securely clamp or hold down the workpiece to prevent movement and ensure stability during the cutting process. Use clamps, hold-downs, or a sacrificial fence to secure the workpiece firmly against the miter saw’s fence and table. Always wear appropriate personal protective equipment (PPE) such as safety glasses, hearing protection, and dust masks to safeguard against potential hazards from flying debris, noise, and airborne particles. Familiarize yourself with the miter saw’s safety features and operating procedures, including blade guard, blade brake, and emergency stop mechanisms, to mitigate the risk of accidents and injuries during miter cutting operations.
Techniques for Achieving Precision
Setting Up Your Miter Saw Correctly
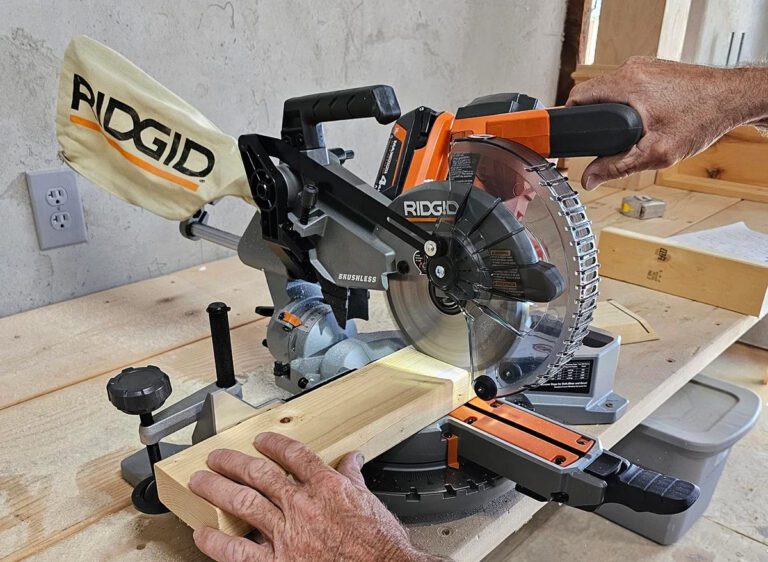
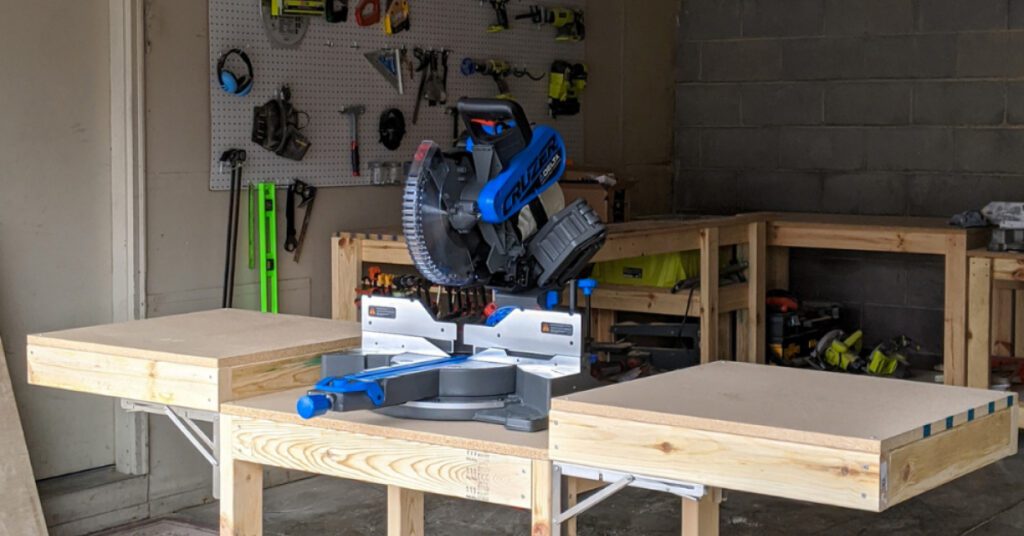
Proper setup of your miter saw is paramount to achieving precise miter cuts. Begin by ensuring the miter saw is securely mounted on a stable work surface and aligned with the blade perpendicular to the saw table. Calibrate the miter and bevel angles using the saw’s adjustment mechanisms or precision angle gauges to guarantee accuracy. Check the blade for sharpness and alignment, and adjust the blade tension and cutting depth as needed for optimal performance. Regularly clean and lubricate the saw components to maintain smooth operation and extend the lifespan of your miter saw.
Cutting Techniques for Different Angles
Mastering cutting techniques for various angles is essential for achieving precision in miter cuts. For straight miter cuts, position the workpiece flush against the miter saw’s fence and lower the blade in a controlled motion through the material. For compound miter cuts, adjust both the miter and bevel angles according to the project specifications, ensuring proper alignment and orientation of the workpiece before making the cut. Practice adjusting the saw angles and cutting techniques to achieve accurate results across different angles and bevel configurations, refining your skills through experience and experimentation.
Utilizing Clamps and Jigs for Stability
Enhance stability and accuracy in miter cuts by utilizing clamps and jigs to secure the workpiece firmly in place during cutting operations. Use adjustable clamps or hold-downs to secure the workpiece against the miter saw’s fence and table, minimizing movement and vibration during the cutting process. Consider fabricating custom jigs and fixtures tailored to specific project requirements, such as stop blocks, sleds, and auxiliary fences, to support long or irregularly shaped workpieces and ensure consistent and repeatable cuts with precision and ease.
Maintaining Consistency in Cuts
Achieving consistency in miter cuts requires attention to detail and practice in honing your cutting skills. Maintain a steady and controlled cutting pace to ensure smooth and even cuts without binding or tear-out. Monitor blade alignment and cutting depth to prevent blade deflection and ensure uniformity in cut quality across multiple workpieces. Keep track of your cutting parameters and settings for different projects, creating reference guides or templates to streamline setup and execution of miter cuts with precision and repeatability. Regularly evaluate and refine your cutting techniques through observation and feedback, striving for continuous improvement in achieving precise and professional results in your woodworking endeavors.
Troubleshooting Common Issues
Mitigating Tear-out and Splintering
Tear-out and splintering are common challenges encountered when making miter cuts, especially in delicate or brittle wood species. To mitigate tear-out and splintering, consider using a sharp, fine-toothed blade with a high tooth count, which produces cleaner cuts with minimal tear-out. Adjust the blade speed and feed rate to reduce friction and heat buildup during cutting, minimizing the risk of splintering. Employ masking tape or painter’s tape along the cut line to reinforce the wood fibers and prevent tear-out, particularly on the underside of the workpiece. Additionally, consider using a sacrificial backing board or zero-clearance insert to support the wood fibers and minimize tear-out during cutting operations.
Addressing Misalignment and Inaccuracies
Misalignment and inaccuracies in miter cuts can result from various factors, including improper setup, blade deflection, and inconsistent cutting techniques. To address misalignment and inaccuracies, double-check the miter and bevel angles to ensure they are set correctly according to the project specifications. Verify the squareness of the miter saw’s fence and table to prevent deviations in cutting angles. Inspect the blade for damage or dullness and replace it if necessary to maintain cutting accuracy. Practice proper cutting techniques, including maintaining consistent pressure and feed rate, to minimize deviations and achieve precise cuts. Consider using precision measuring tools such as digital angle gauges and dial indicators to verify cutting angles and dimensions for accuracy and consistency.
Dealing with Blade Deflection
Blade deflection, caused by excessive blade tension, improper blade alignment, or insufficient support, can lead to curved or uneven cuts in miter cutting operations. To address blade deflection, ensure the blade is properly tensioned and aligned with the miter saw’s arbor and blade guides. Use a stiff and stable workpiece support system, such as auxiliary fences or outfeed tables, to provide adequate support and prevent blade deflection during cutting. Adjust the cutting speed and feed rate to maintain consistent pressure and minimize lateral forces on the blade, reducing the risk of deflection and achieving straight and accurate cuts.
Solutions for Uneven Cuts
Uneven cuts, characterized by variations in thickness or width along the length of the workpiece, can result from blade dullness, improper feed rate, or inadequate workpiece support. To address uneven cuts, sharpen or replace the blade to ensure clean and uniform cutting performance across the entire length of the blade. Adjust the feed rate and cutting speed to maintain a steady and consistent pace, preventing variations in cut quality and thickness. Use a sturdy and level work surface with adequate support to minimize vibration and movement during cutting, promoting stability and accuracy in miter cutting operations.
Finishing Touches and Refinement
Sanding and Smoothing the Mitered Edges
After making miter cuts, sanding and smoothing the mitered edges is essential to achieve a professional finish and ensure seamless integration of the pieces. Start with coarse-grit sandpaper to remove any rough edges or irregularities left by the cutting process. Gradually progress to finer-grit sandpaper to achieve a smooth and uniform surface texture. Pay special attention to the mitered joints, corners, and edges, ensuring they blend seamlessly with the adjoining surfaces for a flawless appearance. Consider using sanding blocks or abrasive pads to maintain flatness and consistency in the sanding process, resulting in crisp and refined mitered edges that enhance the overall aesthetics of the woodworking project.
Applying Wood Putty and Fillers for Imperfections
To address imperfections such as gaps, voids, or surface blemishes in mitered joints, consider using wood putty or fillers to achieve a seamless and uniform finish. Choose a wood putty or filler that matches the color and grain of the wood species used in the project for optimal camouflage and blending. Apply the putty or filler generously to the affected areas, using a putty knife or scraper to spread and smooth the material evenly. Allow the putty or filler to dry completely before sanding and finishing, ensuring a flush and level surface that seamlessly integrates with the surrounding woodwork.
Importance of Proper Assembly and Alignment
Proper assembly and alignment of mitered joints are critical for achieving structural integrity and visual cohesion in woodworking projects. Ensure precise mating of mitered edges and corners during assembly, using clamps, dowels, or biscuits to secure the joints firmly in place. Verify the alignment of the assembled components using precision measuring tools such as squares and straightedges, correcting any deviations or discrepancies in alignment before finalizing the assembly. Pay attention to detail and craftsmanship in the assembly process, ensuring tight and seamless joints that contribute to the overall strength and stability of the finished piece.
Finishing Techniques for Seamless Integration
To achieve seamless integration and enhance the visual appeal of mitered joints, employ finishing techniques that highlight the natural beauty of the wood and provide long-lasting protection against wear and tear. Choose a suitable finish such as stain, varnish, lacquer, or polyurethane based on the desired appearance and level of durability for the project. Apply the finish evenly to the entire surface of the woodworking project, including mitered joints, corners, and edges, using a brush, roller, or sprayer for uniform coverage. Allow the finish to dry completely between coats, sanding lightly between coats to promote adhesion and smoothness.
Advanced Tips and Tricks To Get Perfect Miter Cuts
Creating Custom Miter Joints
Expand your woodworking repertoire by exploring custom miter joints beyond the traditional 45-degree angles. Experiment with compound miters, double miters, and segmented miter joints to add complexity and visual interest to your projects. Utilize specialized jigs, fixtures, and cutting techniques to achieve precise and intricate miter joints, pushing the boundaries of creativity and craftsmanship in your woodworking endeavors. Whether creating custom picture frames, jewelry boxes, or furniture pieces, custom miter joints offer endless opportunities for artistic expression and innovation in woodworking.
Incorporating Inlays and Decorative Elements
Elevate your woodworking projects to new heights by incorporating inlays, marquetry, and decorative elements into mitered surfaces. Explore the art of inlaying contrasting wood species, metals, or other materials to create intricate patterns, motifs, and designs that enhance the visual appeal and uniqueness of your work. Experiment with veneers, carving, and routing techniques to add depth, texture, and dimension to mitered edges and surfaces, transforming ordinary woodworking projects into exquisite works of art. Embrace creativity and imagination in incorporating decorative elements, allowing your personality and craftsmanship to shine through in every detail of your woodworking creations.
Exploring Alternative Materials for Miter Cuts
Expand your horizons in woodworking by exploring alternative materials and substrates for miter cuts beyond traditional wood species. Consider experimenting with engineered wood products, plastics, metals, and composite materials to discover new possibilities and applications in miter cutting operations. Evaluate the characteristics and properties of different materials, adapting cutting techniques and tooling accordingly to achieve optimal results in your woodworking projects. From architectural elements and signage to furniture and art installations, alternative materials offer versatility and durability in mitered constructions, opening up a world of creativity and innovation in woodworking craftsmanship.
Experimenting with Angles and Compound Cuts
Challenge yourself to push the boundaries of conventional miter cutting techniques by experimenting with unconventional angles and compound cuts. Explore asymmetrical angles, skewed miters, and compound bevels to create dynamic and visually engaging compositions in your woodworking projects. Utilize specialized miter saw accessories, such as adjustable fences, miter gauges, and angle jigs, to facilitate precise and controlled cutting operations across a diverse range of angles and configurations. Embrace the spirit of experimentation and discovery in exploring new angles and compound cuts, unlocking new dimensions of creativity and expression in your woodworking pursuits.
Our Final Thoughts on Getting Perfect Miter Cuts
In conclusion, mastering miter cuts is an essential skill for any woodworking enthusiast seeking precision and craftsmanship in their projects. Throughout this comprehensive guide, we’ve covered key points including the definition and purpose of miter cuts, essential tools and techniques, troubleshooting common issues, and advanced tips and tricks for achieving perfect miter cuts. Remember, practice and persistence are key to honing your skills in miter cutting, so don’t be discouraged by initial challenges. Embrace experimentation and continuous learning as you strive for mastery in your woodworking journey.
We invite you to share your experiences and feedback with us as you explore the art of miter cuts further. By incorporating feedback and continuing to refine your techniques, you’ll unlock new levels of creativity and precision in your woodworking projects. In closing, mastering miter cuts is not just about creating clean and seamless joints, but about expressing your passion and dedication to the craft of woodworking. Keep pushing the boundaries, and soon you’ll find yourself achieving flawless miter cuts with confidence and finesse.

