In the world of woodworking, ensuring the peak performance of your miter saw is paramount. Regular maintenance not only prolongs the lifespan of this indispensable tool but also guarantees precision and safety in every cut. In this comprehensive guide, we delve into the significance of miter saw maintenance, elucidate the manifold benefits of a consistent upkeep regimen, and provide an insightful overview of the essential maintenance practices to keep your saw operating at its optimal capacity. Whether you’re a seasoned professional or a novice enthusiast, mastering these Miter Saw Maintenance techniques will undoubtedly elevate your woodworking experience.
Understanding Your Miter Saw
Components of a miter saw
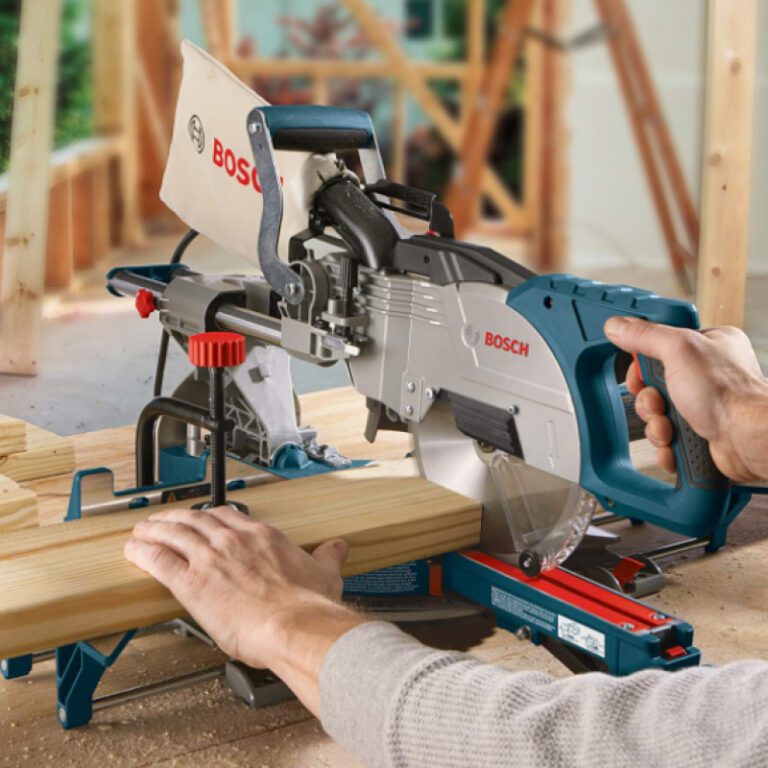
To effectively maintain your miter saw, it’s crucial to understand its anatomy. The key components include the base, where the saw is mounted for stability; the fence, which guides your workpiece for precise cuts; the blade guard, essential for safety; the miter gauge, allowing for angle adjustments; the bevel adjustment, enabling angled cuts; and the dust collection system, which keeps your workspace clean. Familiarizing yourself with these components lays the foundation for proper Miter Saw Maintenance and operation.
Types of miter saws
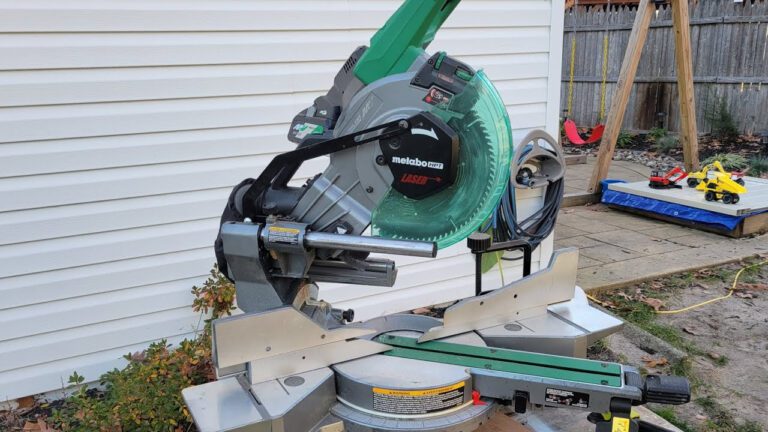
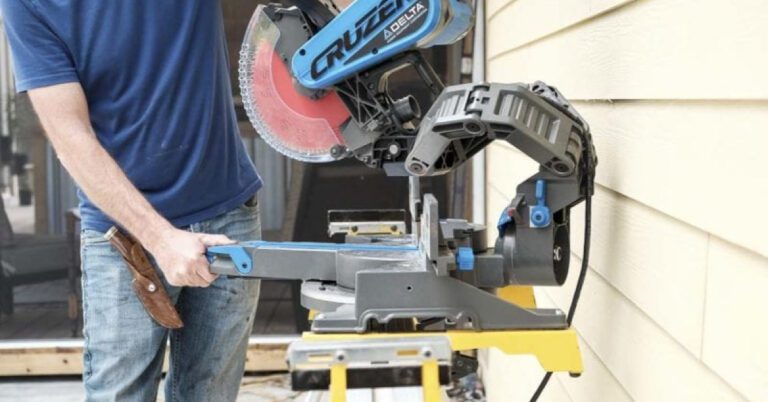
Miter saws come in various configurations to suit different needs and preferences. The most common types include standard miter saws, compound miter saws, sliding compound miter saws, and dual bevel sliding compound miter saws. Standard miter saws offer basic cutting capabilities, while compound models allow for bevel cuts in addition to miter cuts. Sliding compound miter saws feature a sliding arm for increased cutting capacity, while dual bevel models can tilt in both directions, facilitating complex cuts without flipping your workpiece. Understanding the distinctions between these types helps in selecting the right saw for your projects and tailoring your maintenance routine accordingly.
Common features and functionalities
Modern miter saws boast an array of features designed to enhance efficiency and precision. These may include laser guides for improved accuracy, LED work lights for better visibility, ergonomic handles for comfort during prolonged use, and adjustable depth stops for controlling the depth of cuts. Additionally, some models come equipped with built-in clamps to secure your workpiece firmly in place, ensuring stability and safety while cutting. Familiarizing yourself with these features allows you to leverage the full capabilities of your miter saw and incorporate them into your maintenance practices to optimize performance and longevity.
Pre-Miter Saw Maintenance Inspection
Safety precautions
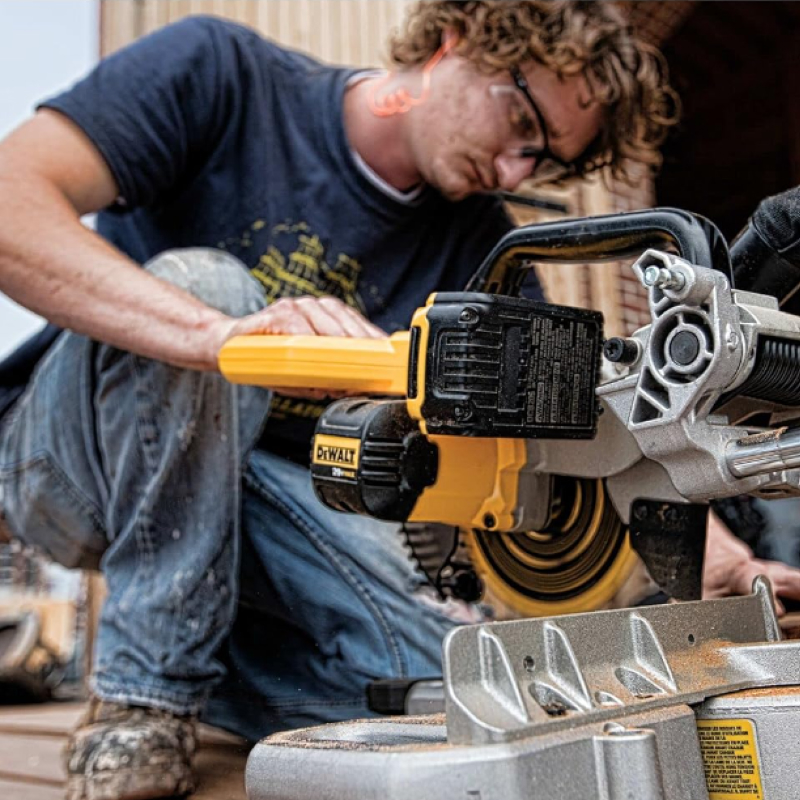
Before embarking on any maintenance tasks, it’s paramount to prioritize safety. Start by disconnecting the miter saw from its power source to prevent accidental starts. Wear appropriate personal protective equipment such as safety goggles and gloves to shield yourself from debris and sharp edges. Ensure that the work area is well-lit and free from clutter to minimize the risk of accidents. By adhering to these safety precautions, you can conduct Miter Saw Maintenance procedures confidently and without compromising your well-being.
Checking for visible damage or wear
Conducting a thorough visual inspection of your miter saw is the first step in identifying potential issues that may require attention. Examine the blade for any signs of dullness, chipping, or warping, as these can affect the quality of cuts and pose safety hazards. Inspect the base, fence, and other components for cracks, dents, or excessive wear, which could compromise the structural integrity of the saw. Pay close attention to the power cord and plug for any fraying or exposed wires, as electrical faults can lead to accidents or malfunctions. By proactively addressing visible damage or wear, you can prevent minor issues from escalating into major problems and ensure the continued reliability of your miter saw.
Verifying accuracy and alignment
The precision of your miter saw is paramount for achieving accurate cuts, making it essential to verify its alignment before proceeding with maintenance. Start by checking the miter and bevel angles using a trusted square or protractor, ensuring that they align perfectly with the indicated measurements on the saw’s scales. Test the accuracy of bevel cuts by making test cuts on scrap material and verifying that the resulting angles are consistent and true. Additionally, inspect the blade for any lateral movement or wobble, as this can indicate issues with the arbor or blade mounting. By confirming the accuracy and alignment of your miter saw, you can address any deviations promptly and maintain the integrity of your woodworking projects.
Let’s talk about Cleaning and Lubrication in Miter Saw Maintenance
Removing sawdust and debris
Over time, sawdust and debris can accumulate in various crevices and components of your miter saw, impeding its performance and potentially causing damage. Begin by using a vacuum or compressed air to thoroughly remove sawdust from the blade guard, base, and other hard-to-reach areas. Pay special attention to the saw’s dust collection system, ensuring that it remains unobstructed to effectively capture debris during operation. By regularly removing sawdust and debris, you not only maintain the cleanliness of your miter saw but also prevent potential safety hazards and ensure optimal functionality.
Cleaning the blade, fence, and other components
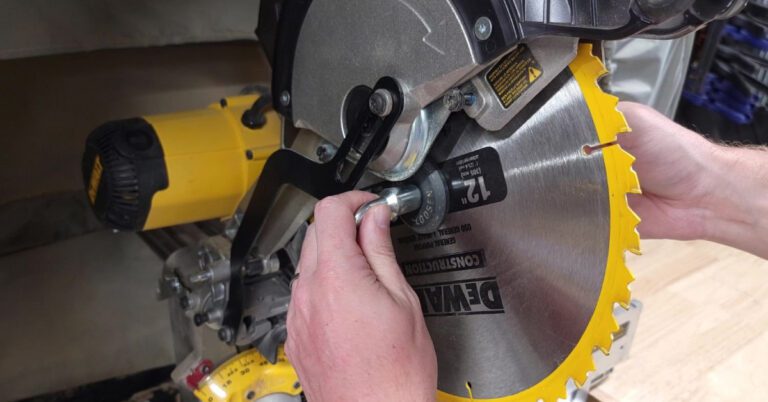
A clean miter saw not only operates more efficiently but also produces higher-quality cuts. Start by removing the blade from the saw, following the manufacturer’s instructions, and thoroughly clean it using a specialized blade cleaning solution or a mild detergent and water. Use a wire brush or toothbrush to scrub away any stubborn residue or pitch buildup, taking care to avoid damaging the blade’s cutting edges. Additionally, wipe down the fence, base, and other components with a damp cloth to remove any accumulated dust or debris. By maintaining a clean and debris-free miter saw, you prolong its lifespan and ensure consistent cutting performance for your woodworking projects.
Lubricating moving parts for smooth operation
Proper lubrication is essential for ensuring the smooth and efficient operation of your miter saw’s moving parts. Begin by applying a few drops of lubricating oil to the pivot points of the miter and bevel mechanisms, as well as the slide rails of sliding compound miter saws. Use a clean cloth to spread the oil evenly and remove any excess, ensuring that the moving parts are adequately lubricated without attracting excessive dust or debris. Additionally, apply a silicone-based lubricant to the saw’s blade guard and tilt mechanism to prevent binding and ensure effortless operation. By regularly lubricating the moving parts of your miter saw, you reduce friction, minimize wear and tear, and maintain peak performance for years to come.
Blade Maintenance
Checking blade sharpness when conducting Miter Saw Maintenance
The sharpness of the blade is paramount for achieving clean and precise cuts with your miter saw. Regularly inspect the blade for signs of dullness, such as burnt edges or tear-out in your cuts. To check sharpness, run your finger lightly along the blade’s edge, taking care to avoid the teeth. If the blade feels dull or rough, it may be time for maintenance or replacement. By staying vigilant and regularly assessing blade sharpness, you can ensure optimal cutting performance and avoid the frustration of subpar results.
Cleaning and sharpening blades
Over time, blades can accumulate pitch, resin, and other residues that hinder their cutting efficiency. Begin by removing the blade from the saw and soaking it in a blade cleaning solution or a mixture of warm water and mild detergent. Use a stiff brush or nylon scrub pad to scrub away any stubborn buildup, taking care to avoid damaging the teeth. Once cleaned, inspect the blade for any nicks or dull spots that may require sharpening. If sharpening is necessary, use a specialized blade sharpening tool or take the blade to a professional sharpening service to restore its cutting edge. By regularly cleaning and sharpening your blades, you not only prolong their lifespan but also ensure consistent and precise cuts for your woodworking projects.
Replacing worn-out or damaged blades
Despite regular maintenance, blades eventually reach the end of their lifespan and require replacement. Signs that indicate it’s time to replace a blade include severe dullness, chipped or broken teeth, or excessive wear along the cutting edge. Additionally, if you notice an increase in tear-out or burning during cuts, it may be a sign that the blade is no longer cutting effectively. When replacing a blade, ensure that you select a replacement blade that is compatible with your miter saw’s specifications and intended application. By promptly replacing worn-out or damaged blades, you can maintain the quality and efficiency of your cuts and continue to enjoy excellent results in your woodworking endeavors.
Calibration and Adjustment
Ensuring miter and bevel angles are accurate
Precise miter and bevel angles are essential for achieving accurate and consistent cuts with your miter saw. Begin by verifying the accuracy of the miter and bevel angles using a reliable angle gauge or precision square. If discrepancies are detected, adjust the miter and bevel controls accordingly until the desired angles are achieved. Take care to lock the adjustments securely in place to prevent any shifting during operation. By ensuring that your miter and bevel angles are accurate, you can confidently tackle woodworking projects knowing that your cuts will be precisely executed.
Adjusting the miter and bevel stops
Miter and bevel stops are invaluable features that allow you to quickly and accurately set common cutting angles without the need for manual adjustments. However, over time, these stops may become misaligned or lose their accuracy, necessitating adjustments. Begin by loosening the locking mechanisms for the miter and bevel stops and verifying their alignment using a protractor or angle gauge. If adjustments are needed, use the corresponding adjustment screws or knobs to fine-tune the stops until they align perfectly with the desired angles. Once adjusted, lock the stops securely in place to maintain their accuracy during use. By regularly checking and adjusting the miter and bevel stops in the Miter Saw Maintenance process, you can streamline your workflow and achieve consistent results with minimal effort.
Fine-tuning fence alignment
The fence plays a crucial role in guiding your workpiece during cuts and ensuring accuracy and stability. Over time, the fence may become misaligned due to vibrations or accidental bumps, resulting in inaccurate cuts. To fine-tune the fence alignment, start by loosening the mounting screws or bolts securing the fence to the saw’s base. Use a straightedge or precision square to verify the alignment of the fence relative to the blade, making any necessary adjustments to ensure that it is perfectly parallel. Once satisfied with the alignment, tighten the mounting screws or bolts securely to lock the fence in place. By fine-tuning the fence alignment, you can eliminate potential sources of error and achieve precise cuts with confidence.
Electrical and Safety Checks
Inspecting power cords and switches
The electrical components of your miter saw play a crucial role in its safe and efficient operation. Start by inspecting the power cord for any signs of fraying, cuts, or other damage that could pose a safety hazard. Additionally, check the power switch for proper functionality, ensuring that it turns the saw on and off smoothly without any hesitation or resistance. If any issues are detected during the inspection, refrain from using the saw until the necessary repairs or replacements have been made to ensure your safety and the integrity of the electrical system.
Checking for loose or damaged electrical connections
Loose or damaged electrical connections can compromise the performance and safety of your miter saw. Carefully inspect all electrical connections, including those inside the saw’s housing and at the plug and outlet, for signs of corrosion, overheating, or loosening. Tighten any loose connections using the appropriate tools and replace any damaged wires or connectors to prevent electrical faults or short circuits. Regularly checking and maintaining electrical connections not only ensures the reliability of your miter saw but also minimizes the risk of electrical hazards during use.
Verifying safety features like blade guards and brakes
Safety should always be a top priority when operating power tools like miter saws. Inspect the blade guard to ensure that it moves freely and covers the blade completely during operation, preventing accidental contact and minimizing the risk of injury. Additionally, test the effectiveness of the saw’s braking system, which should bring the blade to a rapid stop within milliseconds of releasing the trigger. If any safety features are found to be malfunctioning or ineffective, refrain from using the saw until the necessary repairs or adjustments have been made to ensure safe and reliable operation. Regularly verifying the functionality of safety features is essential for maintaining a safe working environment and preventing accidents in the workshop.
Conclusion
Miter saw maintenance is indispensable for ensuring the longevity, precision, and safety of this essential woodworking tool. By regularly cleaning, lubricating, and calibrating your miter saw, you not only extend its lifespan but also enhance its performance, resulting in smoother cuts and improved woodworking efficiency. Embracing a proactive maintenance routine not only safeguards your investment but also minimizes downtime and prevents costly repairs down the line. Remember to inspect electrical components, sharpen blades, and verify safety features regularly to keep your miter saw in top condition. With diligence and attention to detail, you can maximize the potential of your miter saw and enjoy years of successful woodworking projects.


